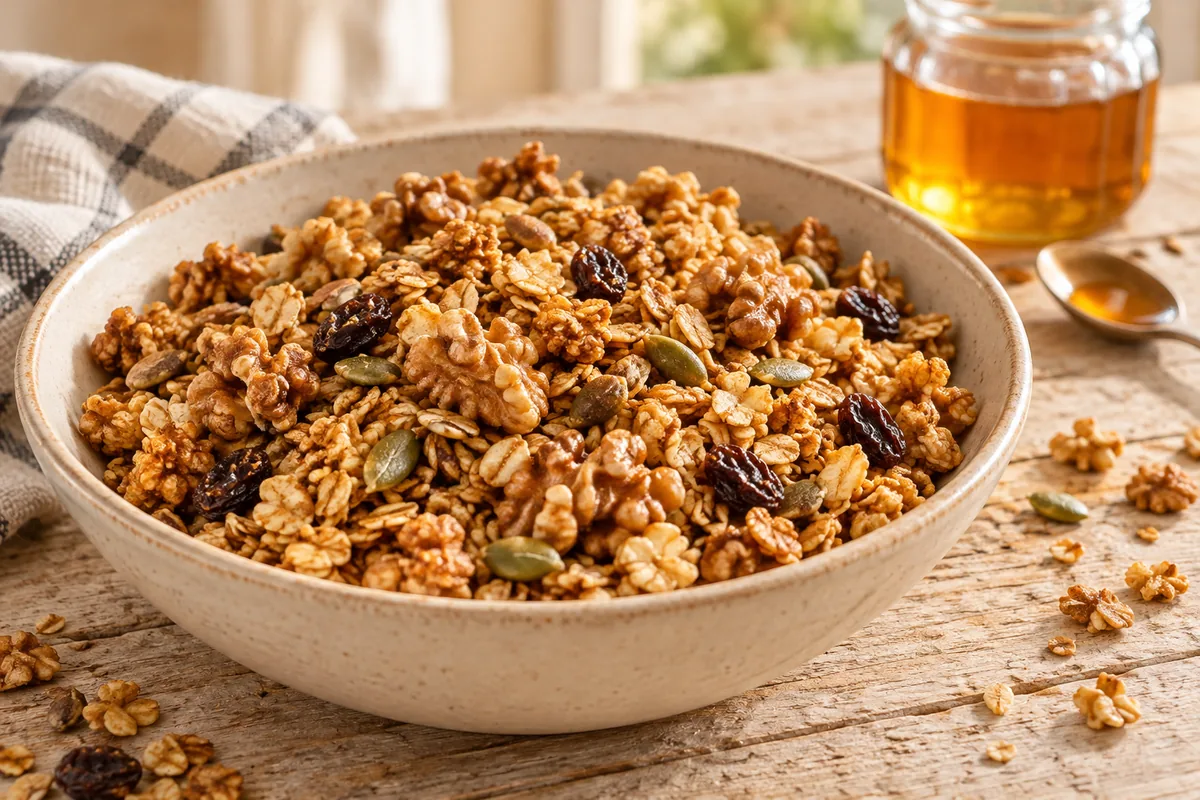
Honey granola is made by coating oats, walnuts and seeds with honey and oil, spreading them in a thin layer, and baking until golden. A moderate oven temperature and complete cooling before packing are both essential for a crunchy result.
This recipe makes a homemade mixture for yogurt, milk or snacking, with small crunchy clusters. Below you will find quantities, baking steps and solutions to common problems, including soft granola and edges that brown too quickly.
Contents
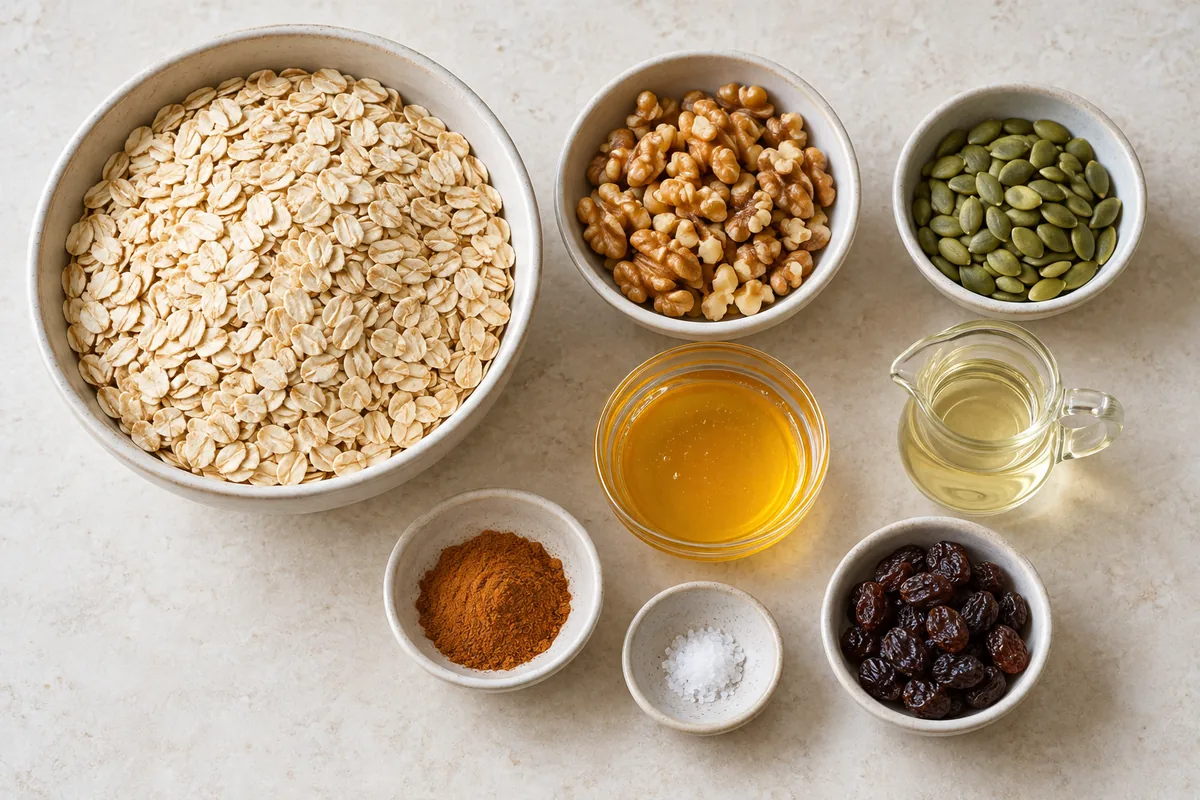
Ingredients for honey granola
For one batch, prepare a large shallow baking tray, approximately 30 × 40 cm, parchment paper and two bowls. If your tray is smaller, bake the mixture in two batches instead of making a thick layer.
- 300 g rolled oats
- 100 g walnuts, roughly chopped
- 50 g shelled, unsalted pumpkin seeds
- 100 g honey
- 50 ml sunflower oil or another mild oil
- ½ teaspoon ground cinnamon
- A pinch of salt
- 60 g raisins, to add after cooling
This makes approximately 12 small servings. Start with about 45–50 g per serving and adjust according to whether the granola is a topping for yogurt or the main part of your meal.
Which oats should you use?
Large, flat rolled oats retain their shape and give the mixture its familiar texture. Finer oats can work, but the mixture will be more delicate and small pieces may brown faster.
Granola is baked and crunchy, while oatmeal with honey and walnuts is prepared as a soft meal. Try that recipe if you prefer a warm breakfast.
Which honey works well?
Choose honey whose flavor you enjoy. Acacia honey is a good choice for a mild aroma, while stronger honey adds a more pronounced note.
Crystallized honey can still be used. Soften it gently in a warm water bath until it is fluid enough to mix, without adding water to the recipe.
How to make honey granola step by step
Allow about 10 minutes for preparation, 30–40 minutes for baking, and approximately 40 minutes for cooling. Plan for roughly an hour and a half overall, although most of that time is spent in the oven or on the tray.
- Prepare the oven and tray. Heat the oven to 150 °C with conventional top and bottom heat, or approximately 140 °C with a fan. Line the tray with parchment paper.
- Mix the dry ingredients. Put the oats, chopped walnuts, pumpkin seeds, cinnamon and salt in a large bowl. Set the raisins aside.
- Add the honey and oil. Combine the honey and oil in a smaller bowl, then pour over the oats. Stir thoroughly, reaching the bottom of the bowl, until everything is lightly coated.
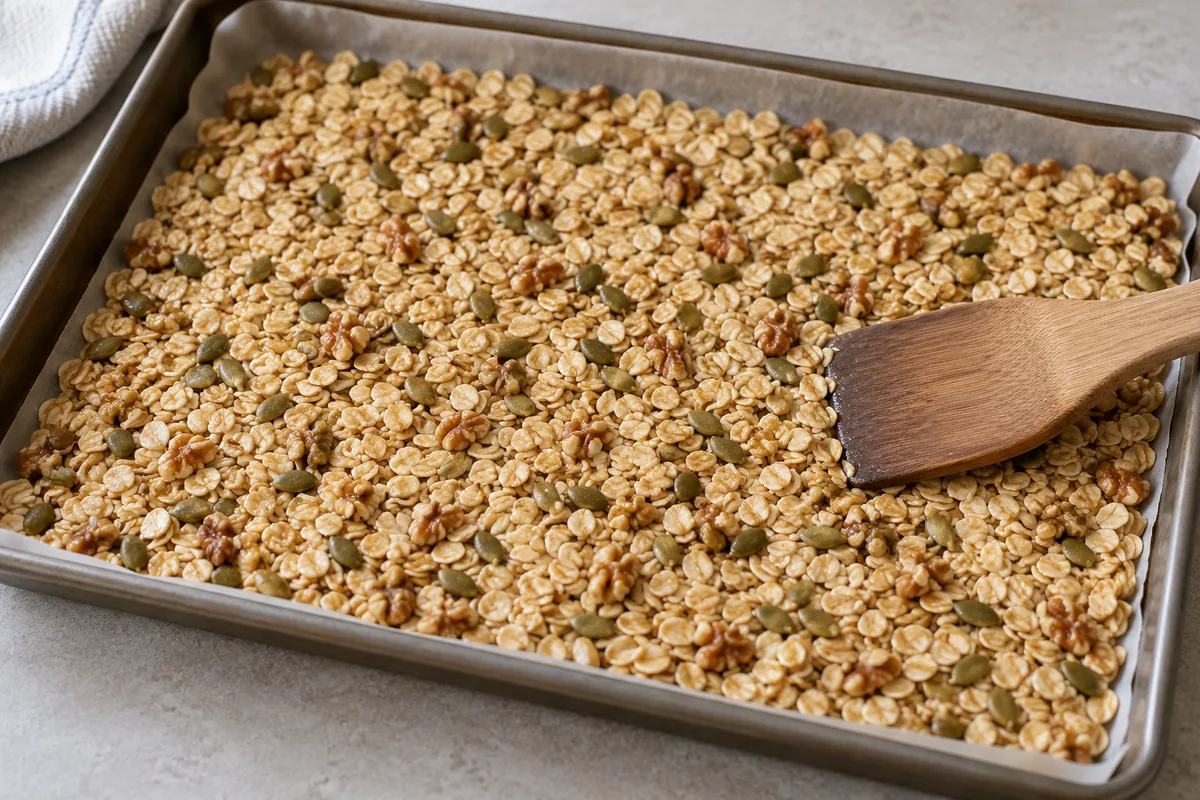
- Spread a thin layer. Transfer to the tray, level the mixture and press gently with a flat spatula. Avoid tall piles that can remain soft in the middle.
- Bake and watch the color. Bake for about 30–40 minutes, checking after 15 minutes. Carefully turn the mixture once, move the edges toward the center and press lightly again. Remove when evenly golden.
- Cool and add the dried fruit. Leave on the tray until completely cool, approximately 40 minutes or longer if needed. Only then break into small clusters and stir in the raisins.
Baking time depends on the oven, layer thickness and size of the oats. Check more frequently toward the end and do not wait for every piece to turn dark brown.
How to get crunch and small clusters
Do not judge the texture while it is hot
As King Arthur Baking explains in its homemade granola guide, the crunch develops during cooling. Let a small sample cool on a plate before deciding whether more baking is needed.
If the cooled sample is still damp and chewy, but not too dark, return the mixture to the oven for a few minutes while watching carefully. Do not automatically keep baking dark granola simply because it is still warm.
Press lightly and allow it to cool
For small clusters, coat the oats thoroughly and leave the layer lightly compressed after stirring. Frequent stirring and breaking during cooling produce looser granola, which works well if you prefer that texture.
This recipe is not intended to make firm granola bars. Cluster size can vary; do not expect the whole tray to remain in one piece.
Ingredient swaps and flavor adjustments
The easiest approach is to change one type of nut or dried fruit first. Changing the honey, oil and oats together makes the result harder to predict.
| Ingredient | Possible substitute | Important note |
|---|---|---|
| Walnuts | Roughly chopped almonds or hazelnuts | Use a similar weight and watch small pieces as they brown. |
| Pumpkin seeds | Shelled, unsalted sunflower seeds | Use the same weight. |
| Raisins | Chopped dried apricots or cranberries | Add after cooling; check for added sugar. |
| Sunflower oil | Mild olive oil or melted coconut oil | The flavor may change. |
| Cinnamon | Omit or add a little vanilla | Changing the aroma does not require changing the honey quantity. |
Can you use less honey?
Try 80 g instead of 100 g if you prefer milder sweetness. The mixture may form fewer clusters; extra water is not a suitable replacement for the omitted honey.
The recipe has no added granulated sugar, but it is not sugar-free: honey and dried fruit contain sugars. Read more in our guide to honey instead of sugar.
What if you avoid nuts?
Replace the walnuts with extra oats and seeds, although the texture will change. For allergies, check every ingredient label and the possibility of cross-contact. Replacing walnuts alone does not automatically make the recipe allergen-free.
How to serve honey granola
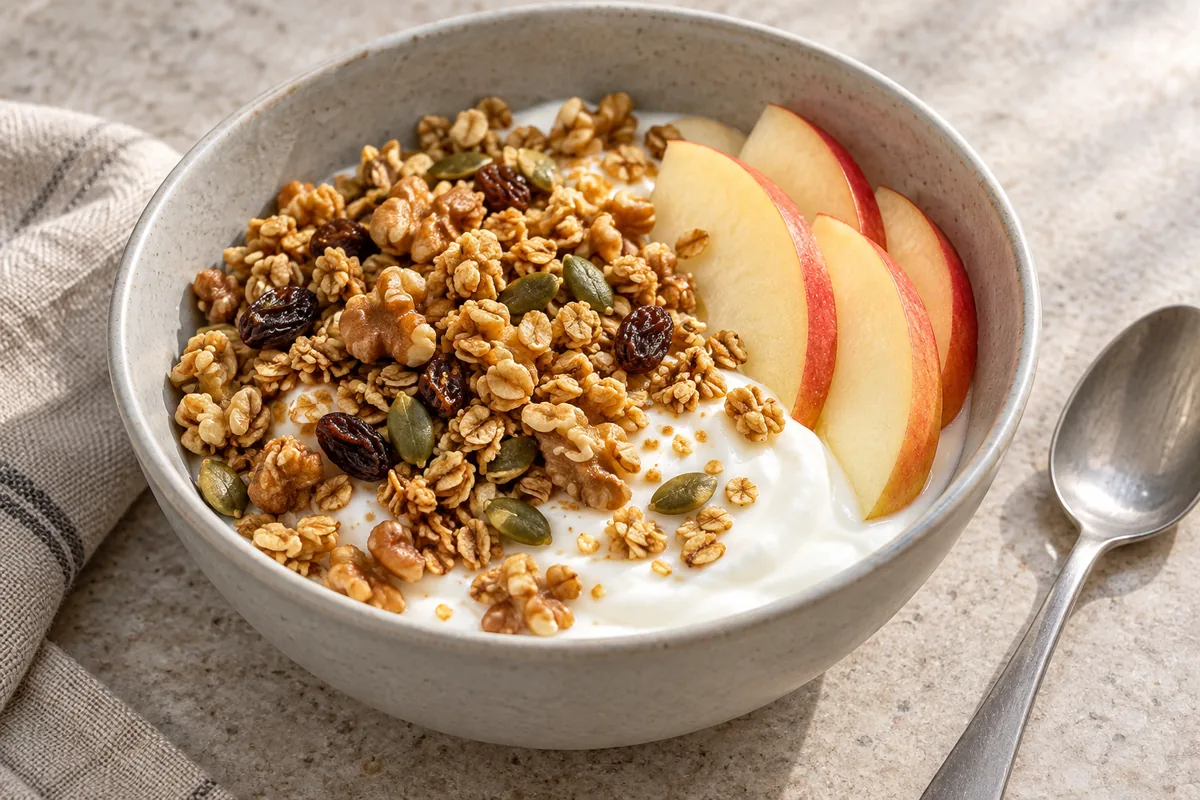
Spoon a small serving over plain yogurt and add a few apple slices just before eating. For a softer texture, pour over milk and wait briefly; for crunch, add the granola last.
Fresh fruit belongs in the serving bowl rather than the jar containing the dry mixture. This lets you vary breakfast without introducing moisture into the entire batch.
If you enjoy honey and walnuts, try our honey with walnuts recipe. It is a different mixture with its own storage and serving guidance.
Storing homemade granola
Pack only when completely cool
Transfer the cooled granola to a clean, completely dry jar or container with a tight-fitting lid. Keep it in a cool, dry place away from the stove and direct sunlight, and use a dry spoon.
For this homemade batch, aim to finish it within 7–10 days for flavor and crunch. This is a practical quality target, not a laboratory-confirmed shelf life. Results depend on baking, moisture, ingredient freshness and storage conditions.
University of Minnesota Extension gives up to two weeks in a tightly covered container for its own recipe. That guidance applies to its formulation and is not a guarantee for every homemade variation.
When should you throw it away?
Discard granola with visible mold, an unusual smell, or rancid nuts or oil. Additional baking can improve the texture of a freshly prepared mixture; it cannot rescue spoiled food.
Pure honey’s long storage life does not mean granola has the same shelf life. Our guide to whether honey expires and how to store it explains why honey and mixtures need different storage guidance.
Frequently asked questions and troubleshooting
| Problem | What to check or change |
|---|---|
| Edges brown quickly | Check the temperature, rotate the tray and move the edges toward the center. |
| The center stays soft | The layer may be too thick. Spread the next batch more thinly or bake in two separate batches. |
| No clusters form | Coat the oats well, press the layer lightly and avoid breaking it while it cools. |
| Dried fruit is hard or bitter | Add it after baking and cooling rather than baking it with the oats. |
| Granola softens in the jar | Check that it was completely cool and that the container and spoon were dry. |
Must you stir during baking?
In this method, one careful stir around halfway through helps the mixture brown evenly. For more small clusters, press the layer again afterward and leave it undisturbed during cooling.
Is the honey meant to be baked?
Yes. Here, honey goes into the mixture before baking to sweeten and bind the oats. This recipe is not designed to preserve every property of unheated honey.
Can you double the batch?
Yes, but increasing the quantity also requires more space. Bake separate batches instead of packing twice the mixture onto one tray, which would create different conditions at the center and edges.
Golden color, a thin layer and patience
For good homemade granola, coat the oats evenly, watch the color and wait until the batch is completely cool. Only then break it up, add the raisins and pack it in a dry container.
Once the basic batch works well in your oven, change one type of nut or dried fruit next time. That makes it easier to find the combination you enjoy most for breakfast.